1790s Stays: Part Four
- Marigold Pockets
- Apr 29, 2021
- 1 min read

Everything appeared to be going great. The boning channels were finished, I trimmed the pieces down, and I had sewed the panels together...

But then I noticed something terrible...

Why was it so wierd and lumpy? After a lot of annoyance and begging for it not to be true, I figured out what it was: I sewed the panels together wrong wrong wrong! Nooooo!

Nooooo! So I had to undo about two hours of work and re-do those seams. It's not terrible, but quite frustrating!
Well, that issue was fixed. I made a checklist of tasks that needed to be done for the stays to be finished:
Size up pattern ✔
Mock-ups ✔
Cut pieces ✔
Baste on to lining ✔
Cut lining pieces ✔
Sew boning channels ✔
Sew panels together✔
Place bones ✔
Close boning channels
Punch holes
Hem holes
Cut tabs
Line with ribbon
Finish all hems and seams
Hem strap
Make holes for attachable strap
Break in
Done!
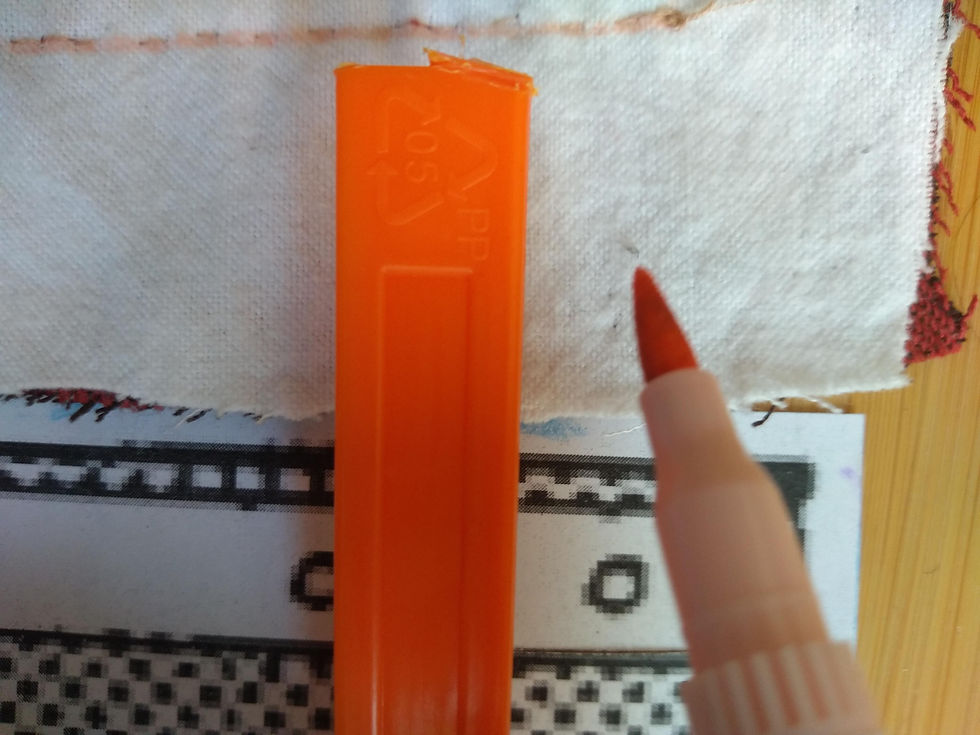
I used plastic zip ties for boning, and tied them together with thread for the places they were too short. I smoothed out the ends and cut off the little "buckles".


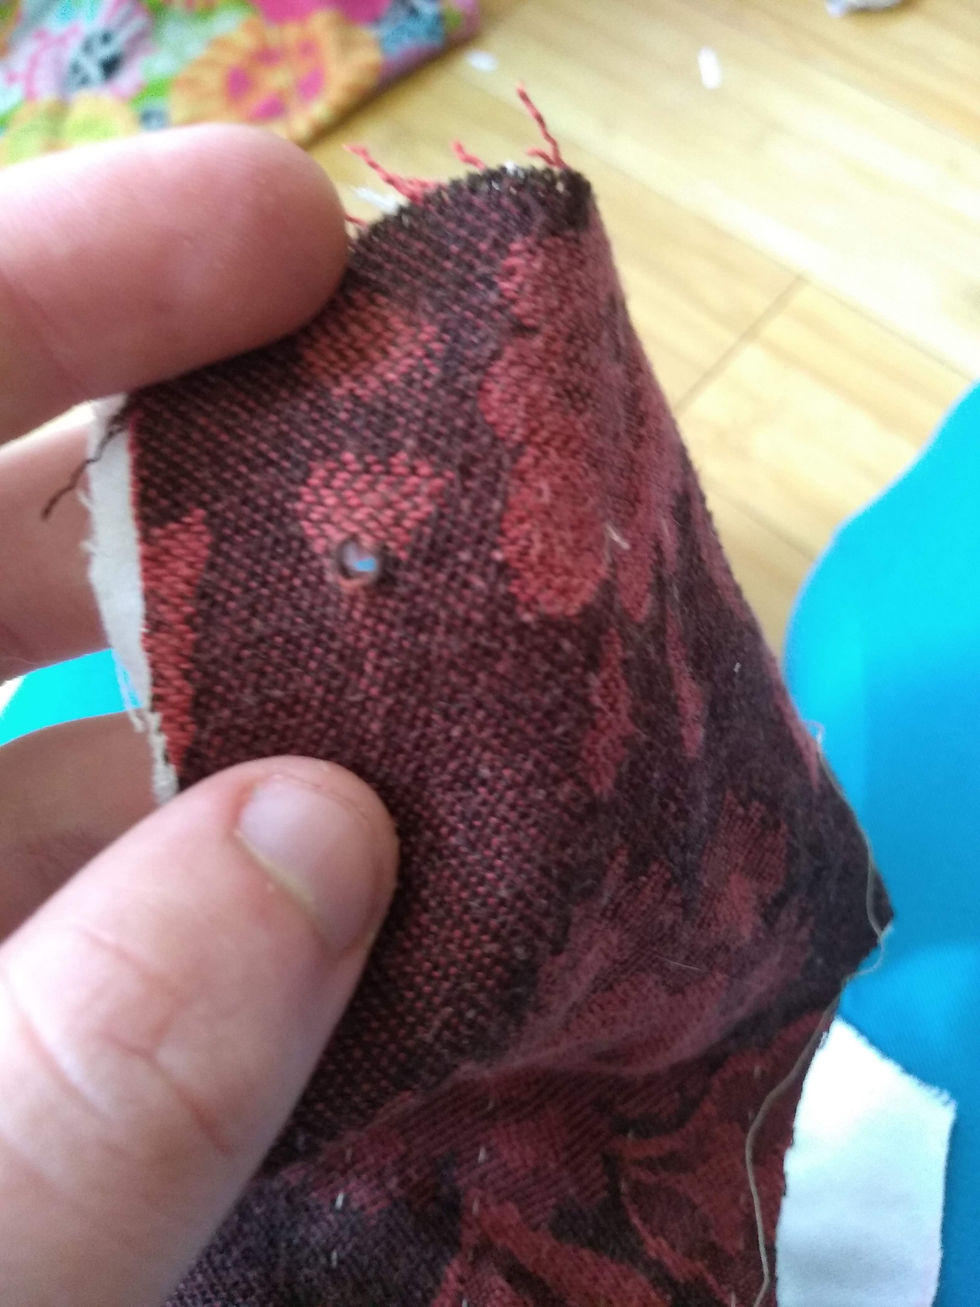
Next I began marking where they would be and punching the holes with a nail (as I do not have an awl... I would not reccomend this!).
I also began placing the ribbon to finish the seams and bind the tabs (which I only cut just now as the outer fabric has a tendency to fray... if you are using a stronger weave fabric, you may be able to just cut the tabs at first).

Next time I will be finishing the holes and ribbon lining, sewing the front panels together, finishing all seams. Thanks for reading!


Comments